Supabase custom email templates for authentication flows with Shootmail email template builder
 subhendu singh
If you are one of the hundreds of thousands of users who use Supabase Auth for authenticating and authorising you users, this guide is for you.
Pre-built templates for Supabase
First things first, here are the pre-built email templates for Supabase that you can use today.
Why do you need custom email templates with Supabase Auth?
Supabase provides default email templates for various events in the authentication flow that you can access from the dashboard in Authentication > Emails.
These email templates although functional and a good starting point, do not look professional. If you are building a serious product that I am sure you are, and thousands of users will be using it, you need to have everything from the branding point of view on point. This includes emails.
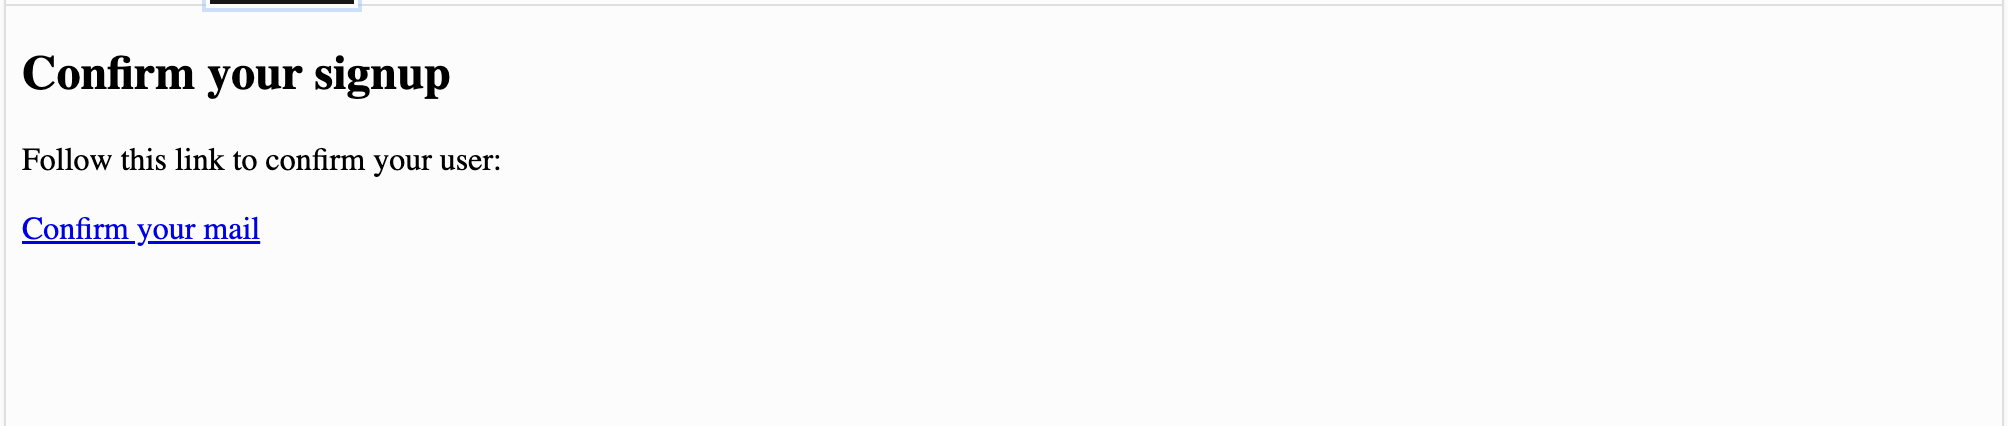
Here is how the default Supabase email templates look:
User Invitation email template

Confirm signup email template
Alright, I think now you understand the problem at hand. The good part is, Supabase let’s you customize these email templates according to you liking by using the template variable.
What are the different type of authentication flows in Supabase?
By default, Supabase provides 6 types of flows for different use cases. These are:
- Confirm signup - Used when a new user signs up and you send a confirmation link or code like OTP.
- Invite user - Used when you invite an user to join your workspace.
- Magic link - Used when you enable sign in using magic link. A link is sent to your user’s email. When your user clicks on the link, they are signed in automatically.
- Change email address- Used when a user requests change of their email.
- Reset password - Used when a user requests password reset.
Variables available in Supabase for email template customisation
ConfirmationURL: Contains the confirmation URL.Token: Contains a 6-digit One-Time-Password (OTP) that can be used instead of the ConfirmationURLTokenHash: Contains a hashed version of theToken. This is useful for constructing your own email link in the email template.SiteURL: Contains your application’s Site URL. This can be configured in your project’s authentication settings.Email: Contains the user’s email address.NewEmail: Contains the new user’s email address. This is only available in theemail_changeemail template.
How to customize Supabase email templates with Shootmail?
Here is the link of all the available Supabase email templates for each of the authentication events described above: https://shootmail.app/templates/supabase
Create an account
If you do not already have an account on Shootmail, create one by sing this signup link. You can start free, no credit card is required.
Clone Supabase email template
Go to the purchased email templates section where among all the available email templates, you will find Supabase email templates. You can filter by typing “Supabase” in the search.
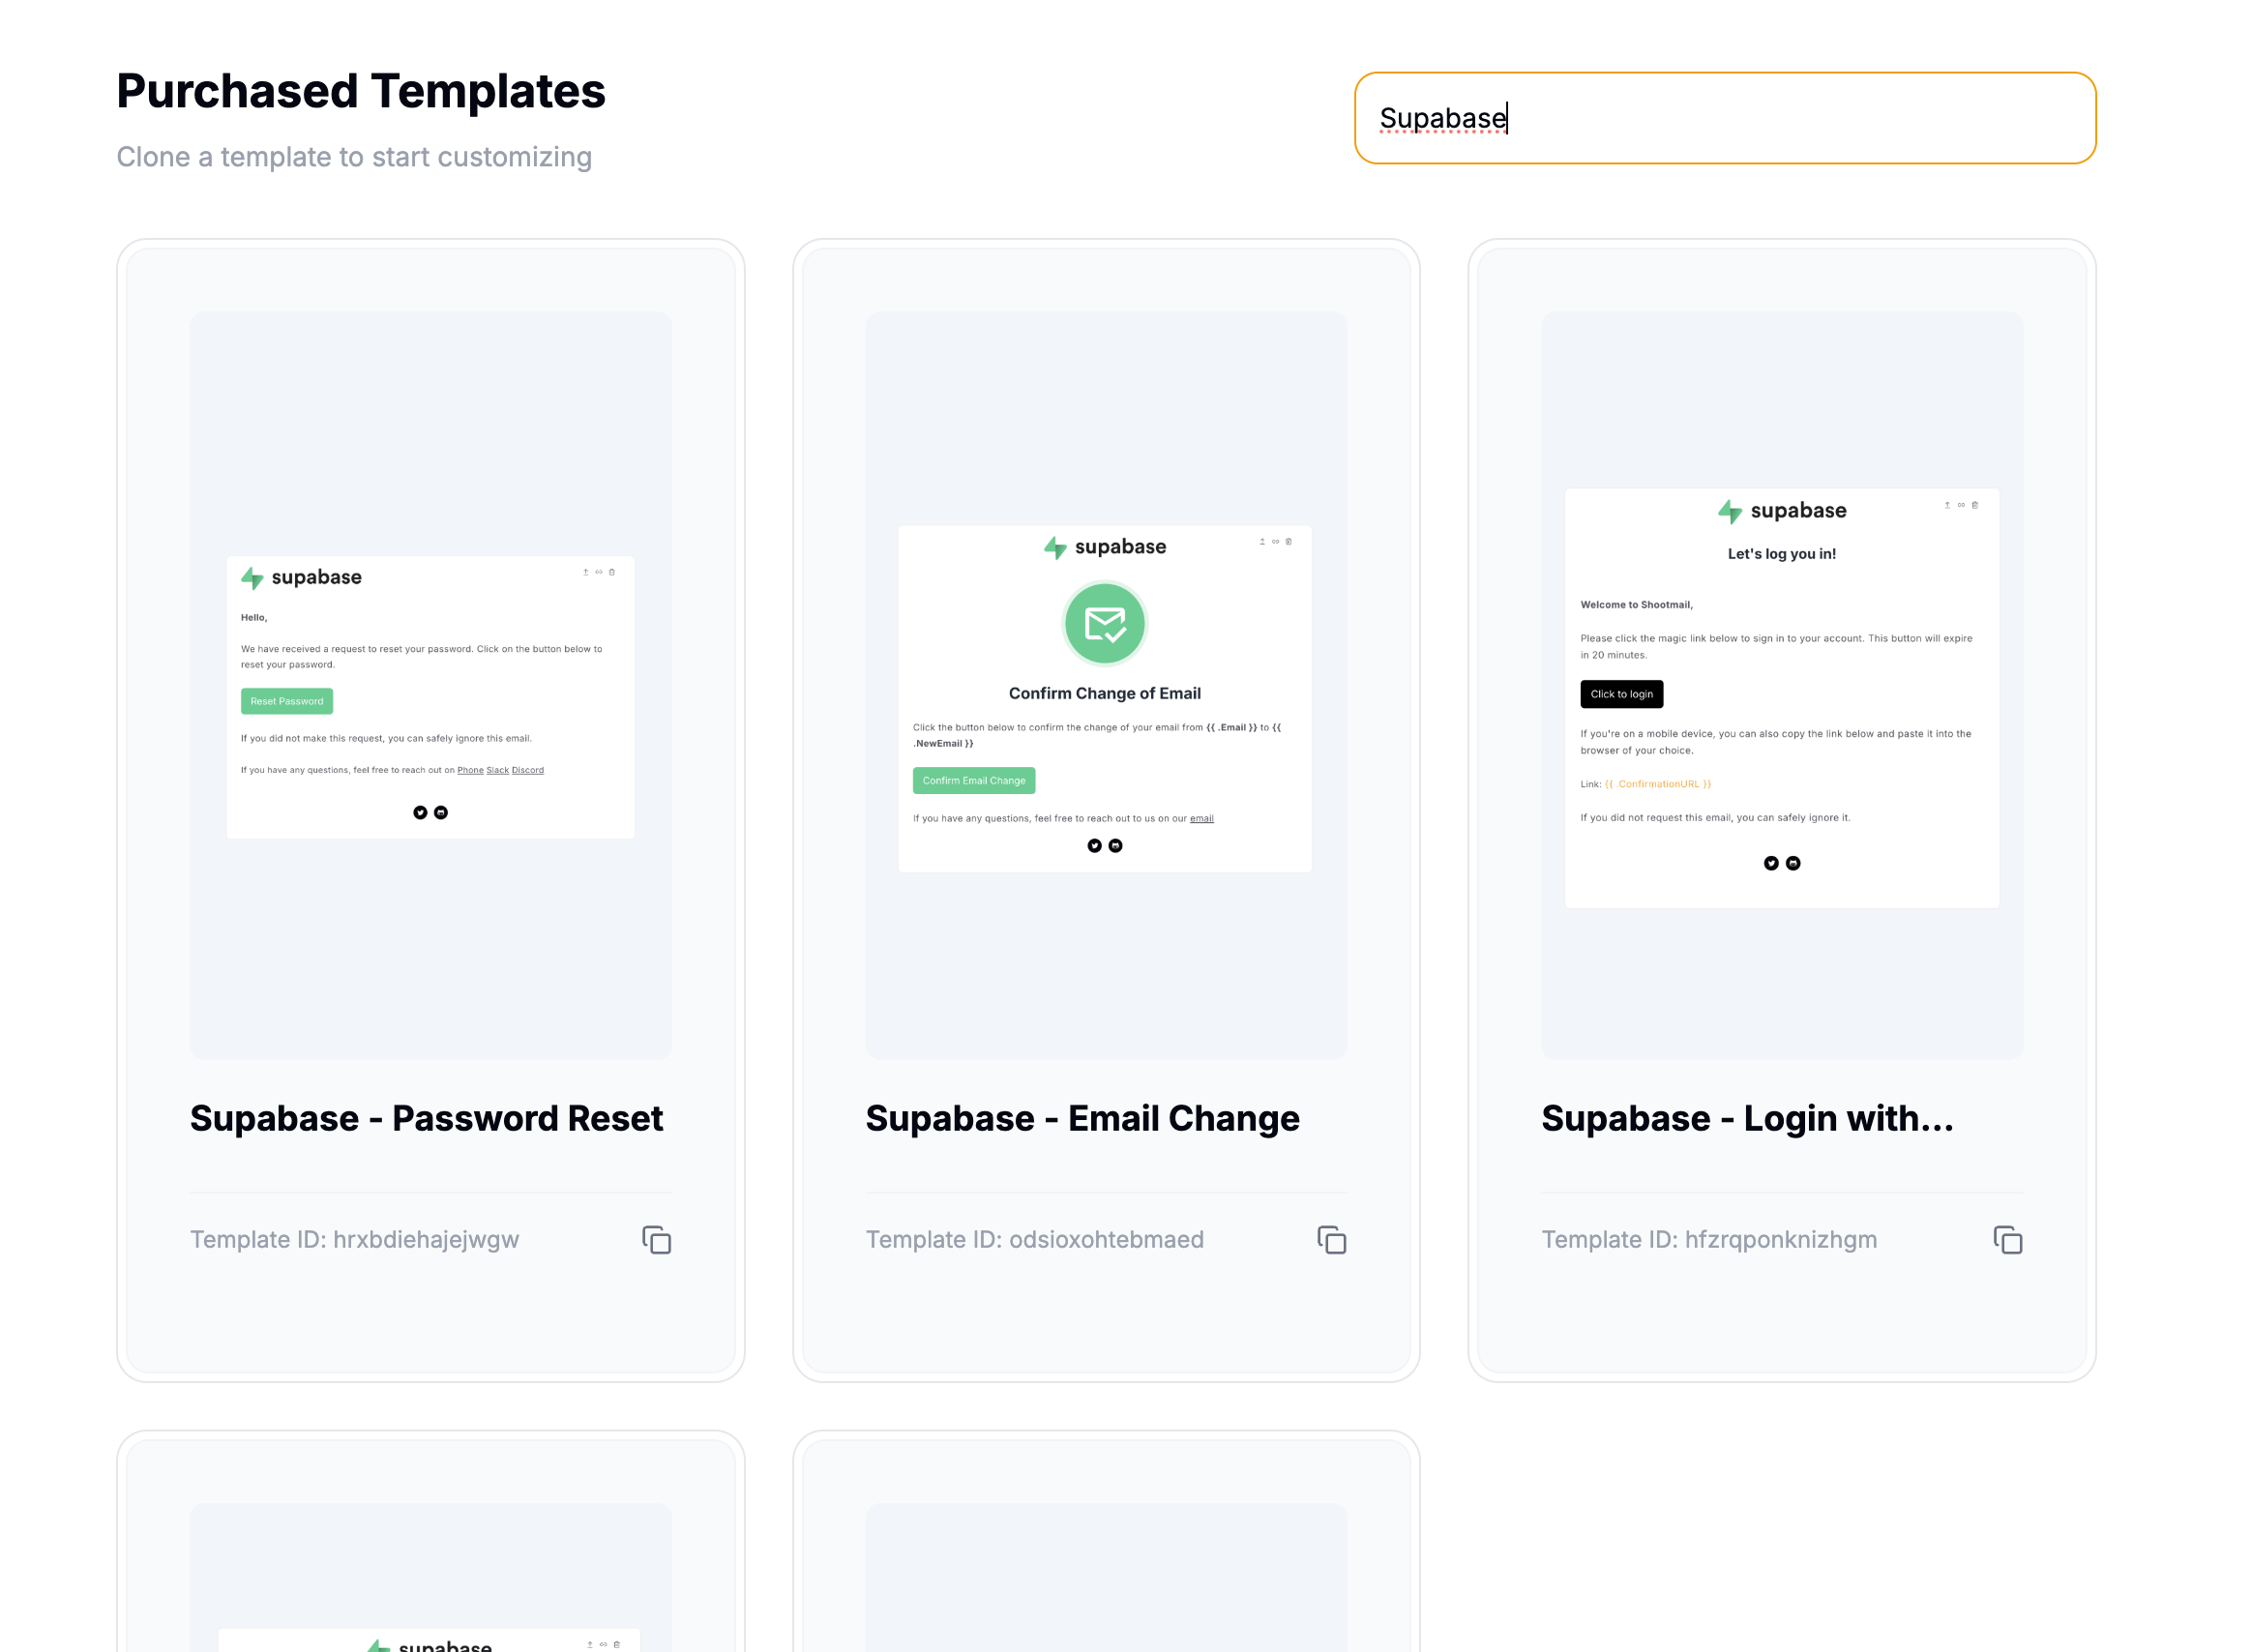
Open any of these templates. You will see a Clone Template option. When you clone a template, they are added to your My Templates section.
Customise the template
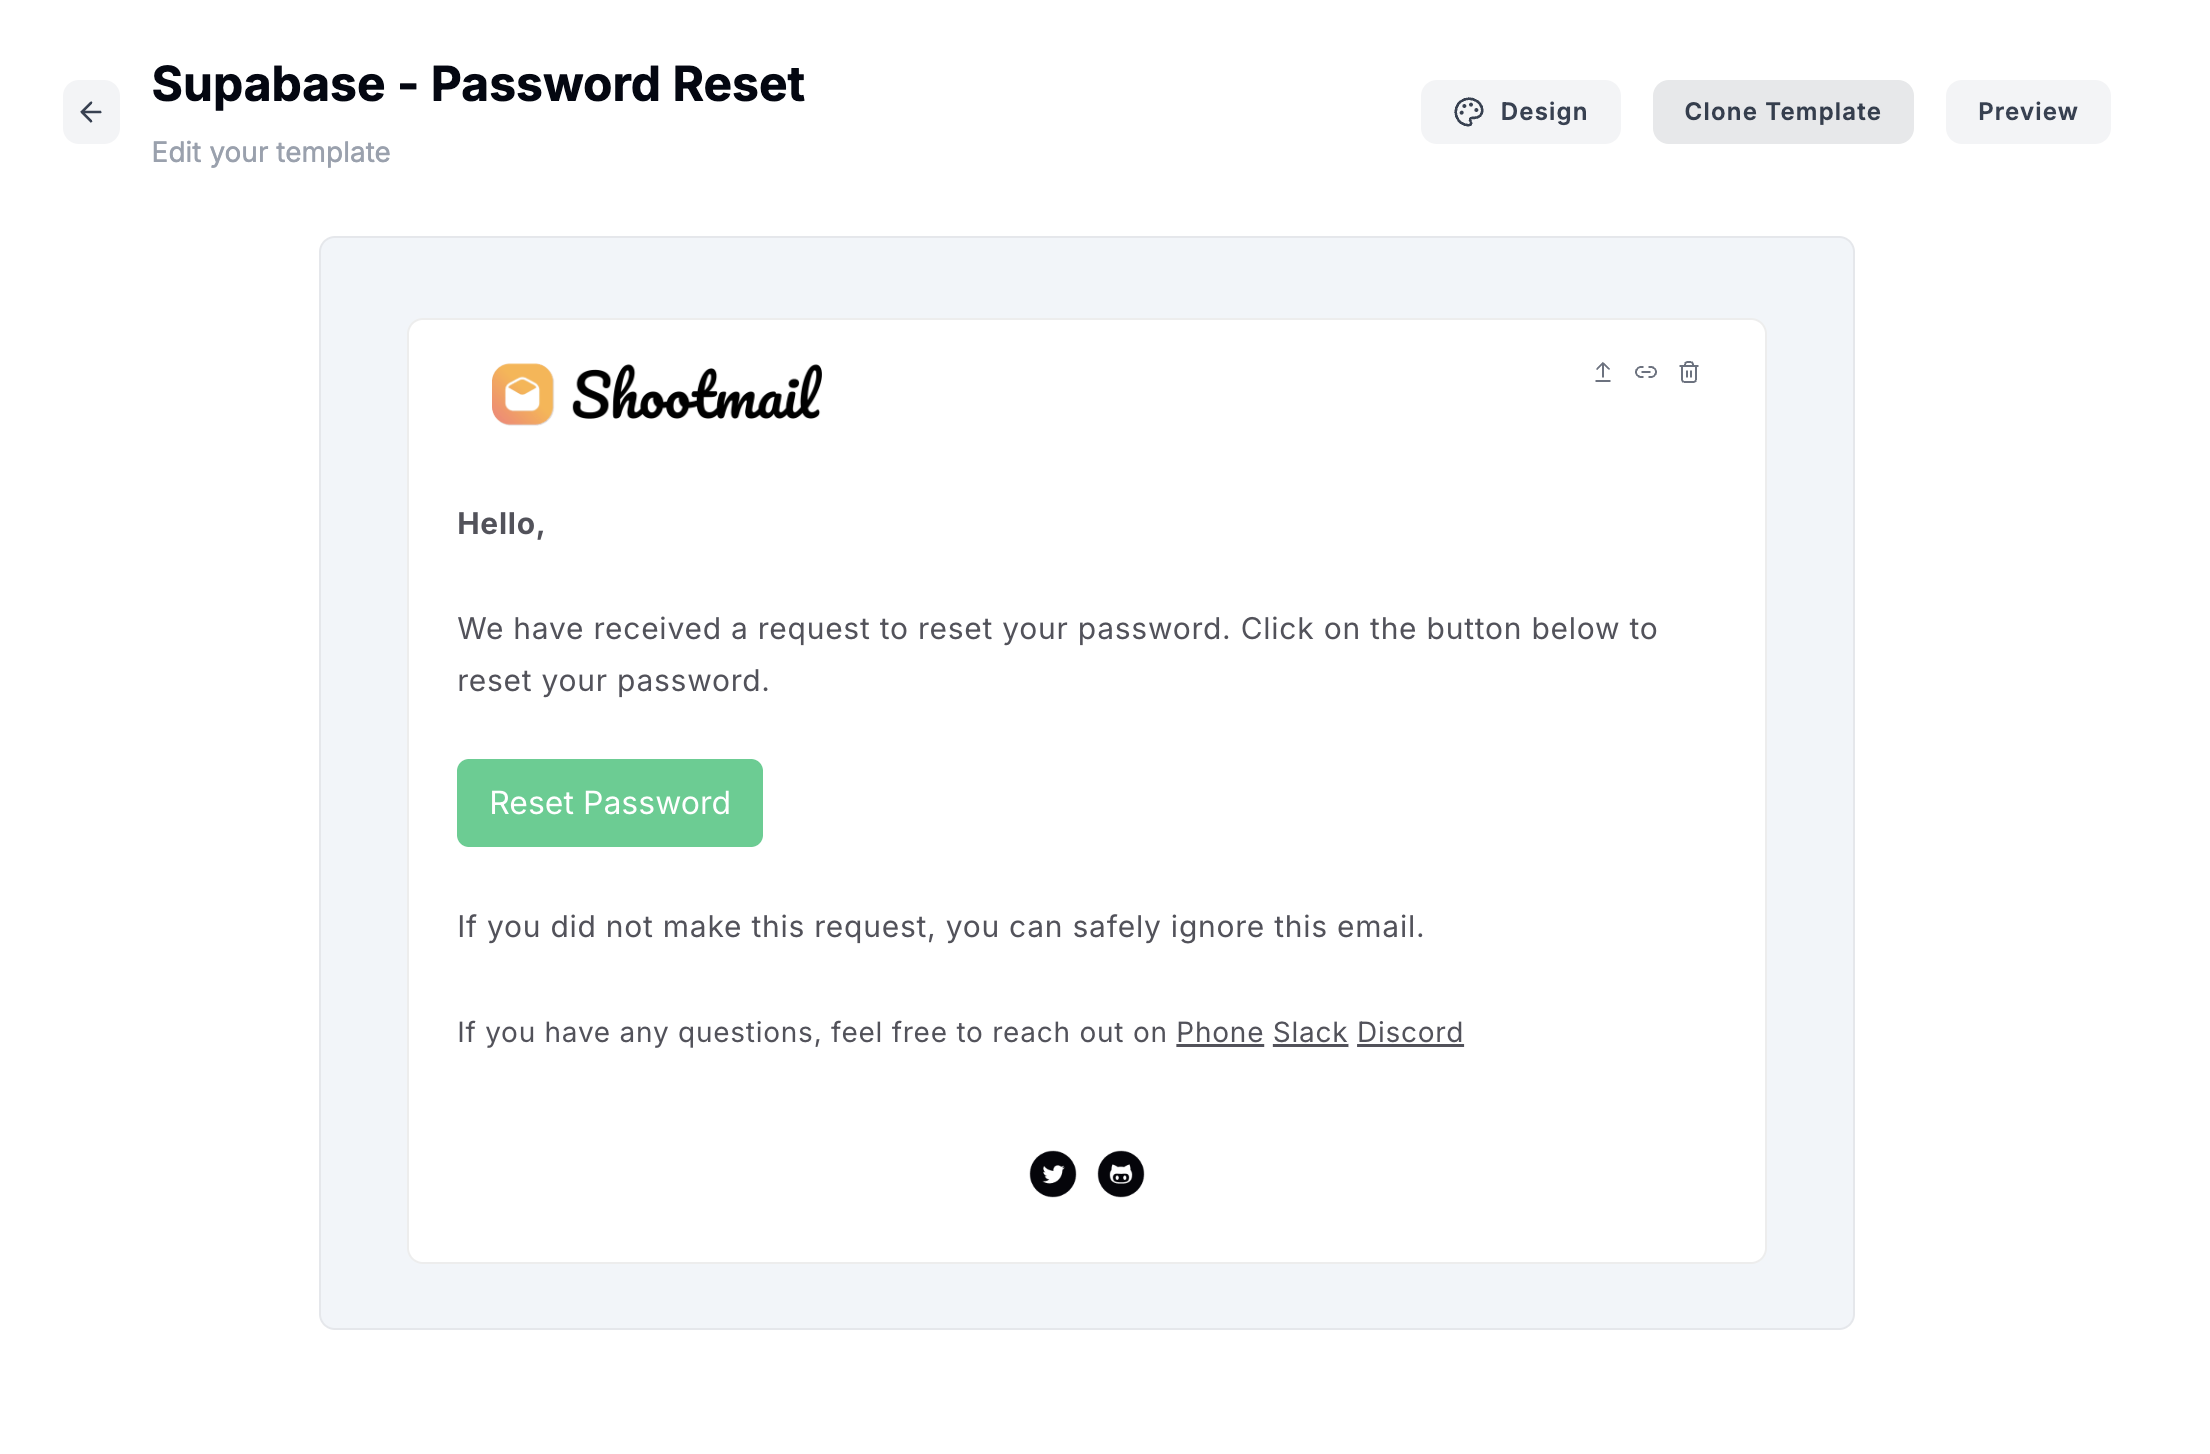
From the My Templates section, open your newly cloned template.
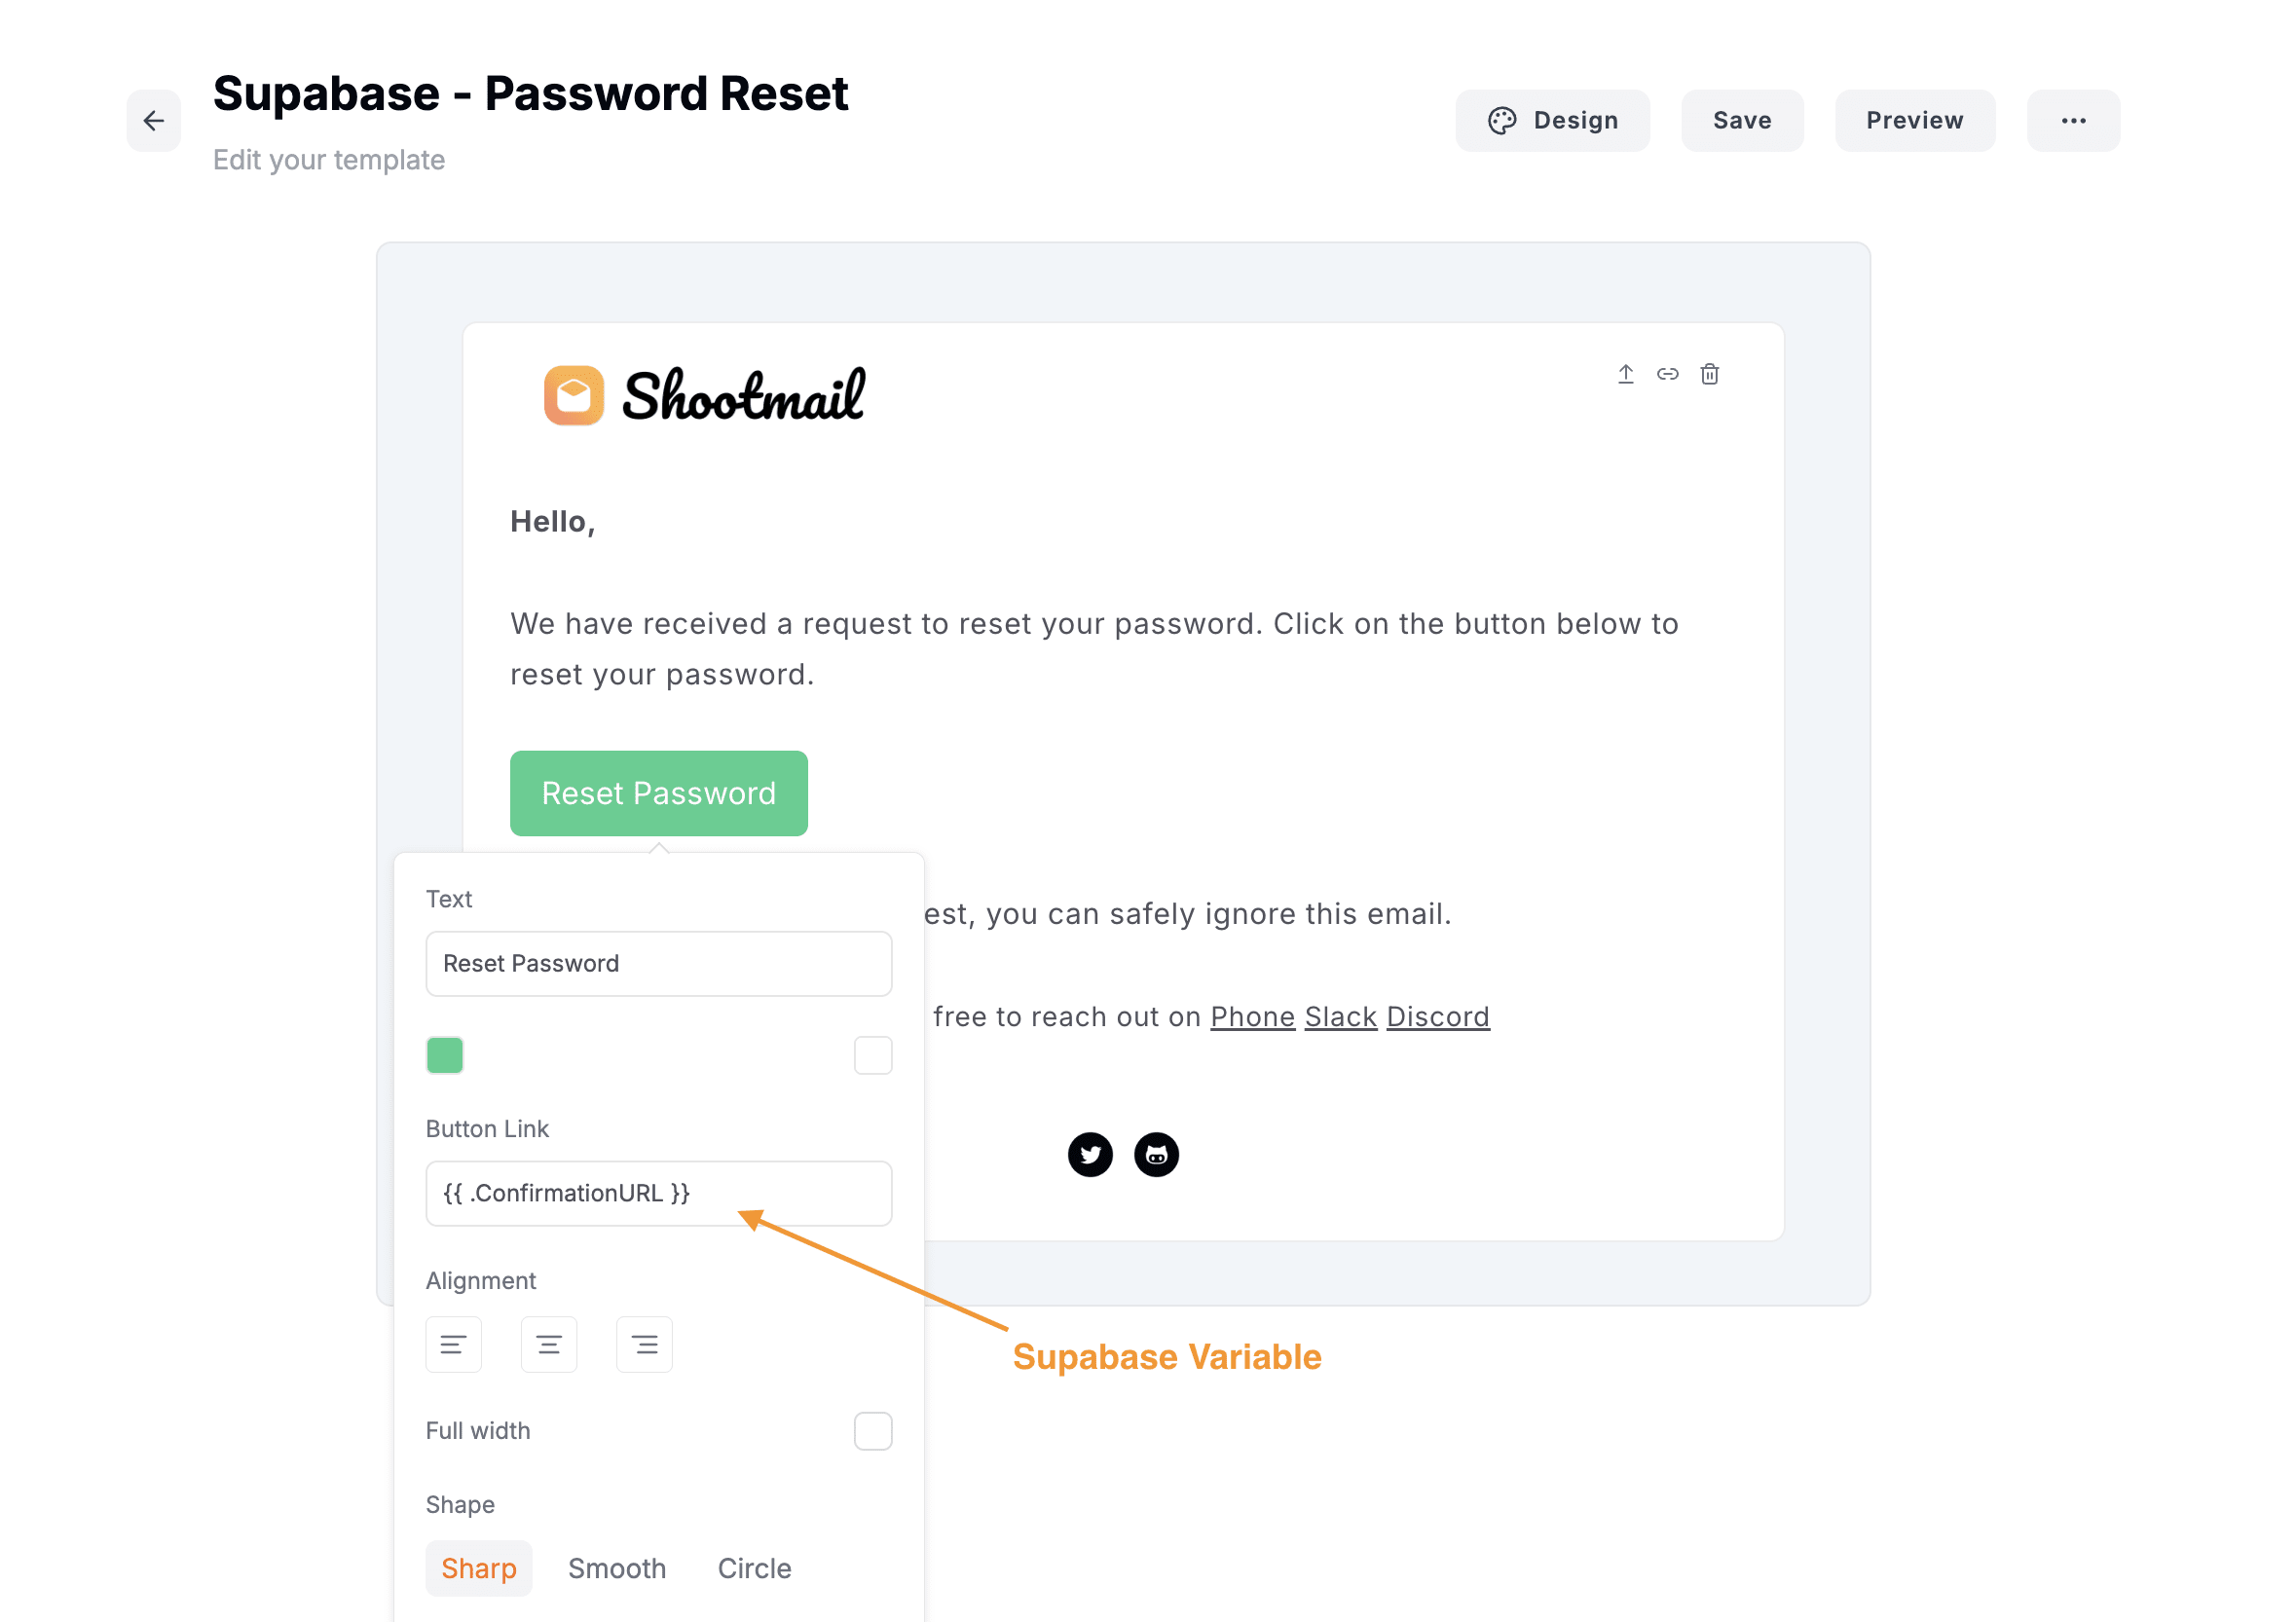
Here you can customize every aspect of this template to suit your branding. You can change button color, headings, insert new sections, images etc.
As you can see in the image, a variable named {{ .ConfirmationURL }} is already there in place of the button link. Supabase automatically replaces this variable with the appropriate link dynamically. You don’t have to do anything.
Copy in Supabase
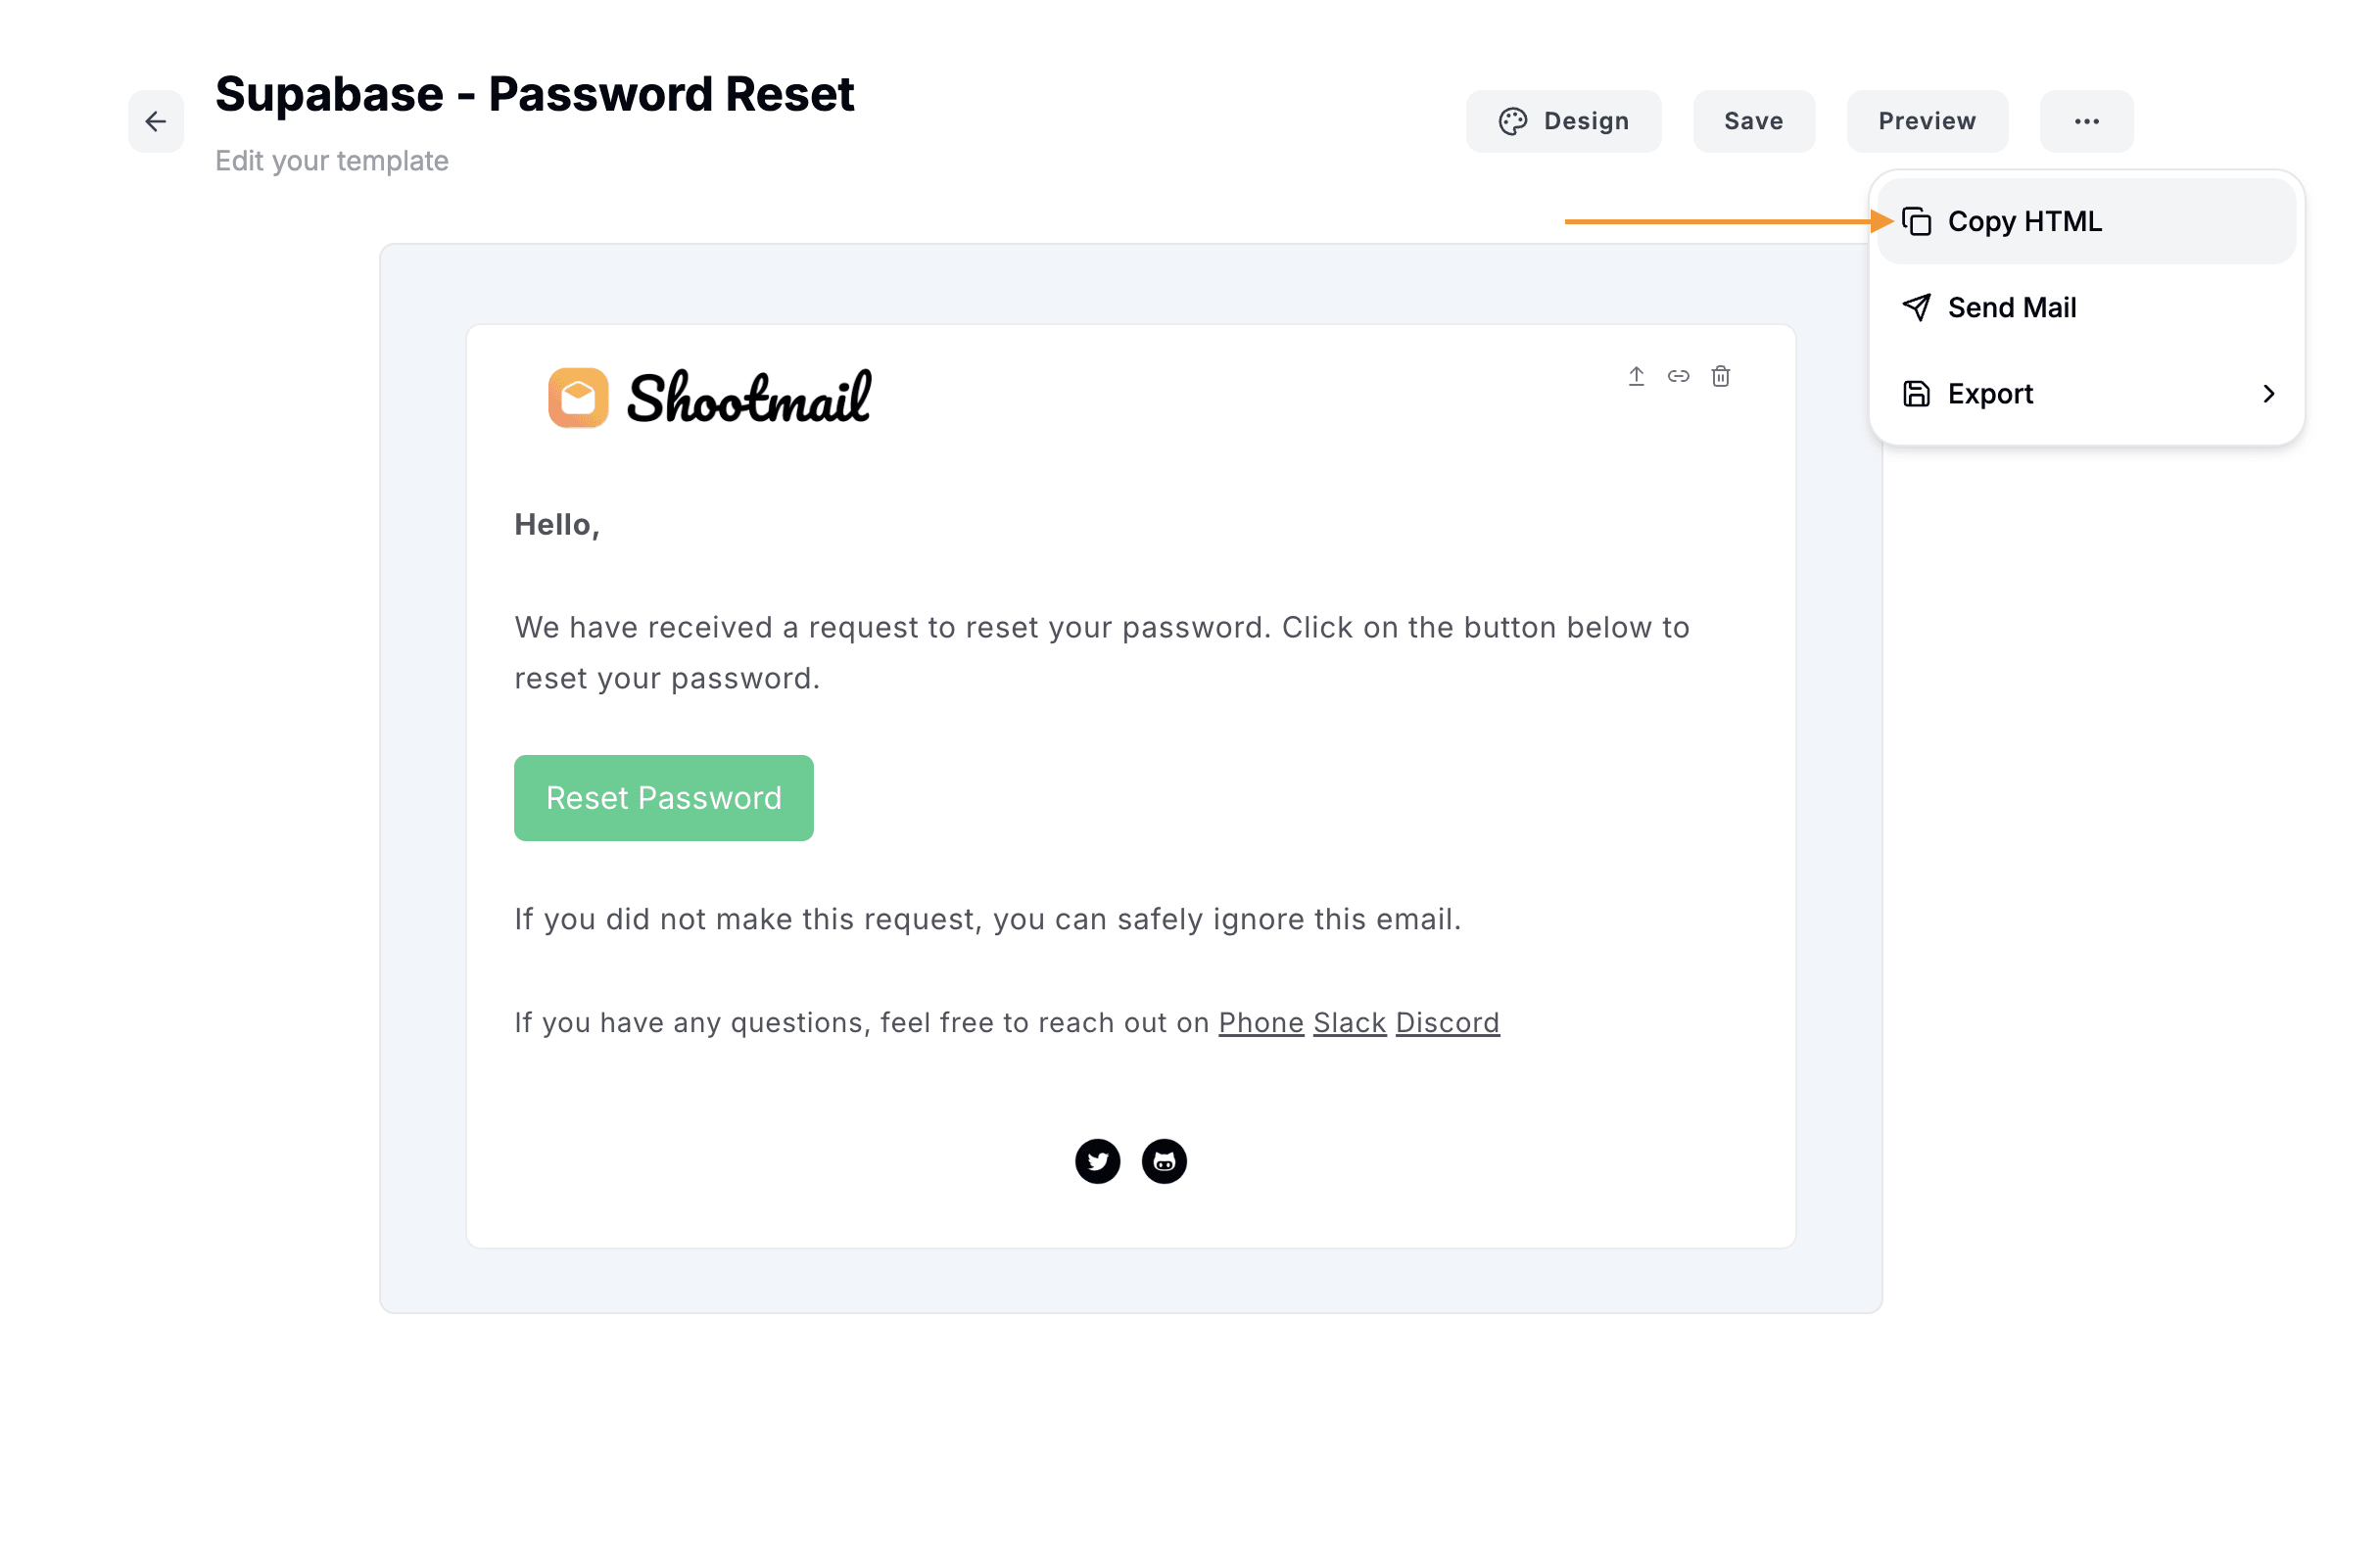
When you are satisfied with how your email template has turned up, you can copy the template’s HTML and paste in the Supabase dashboard.
To do this, follow this link or go to Authentication > Emails.
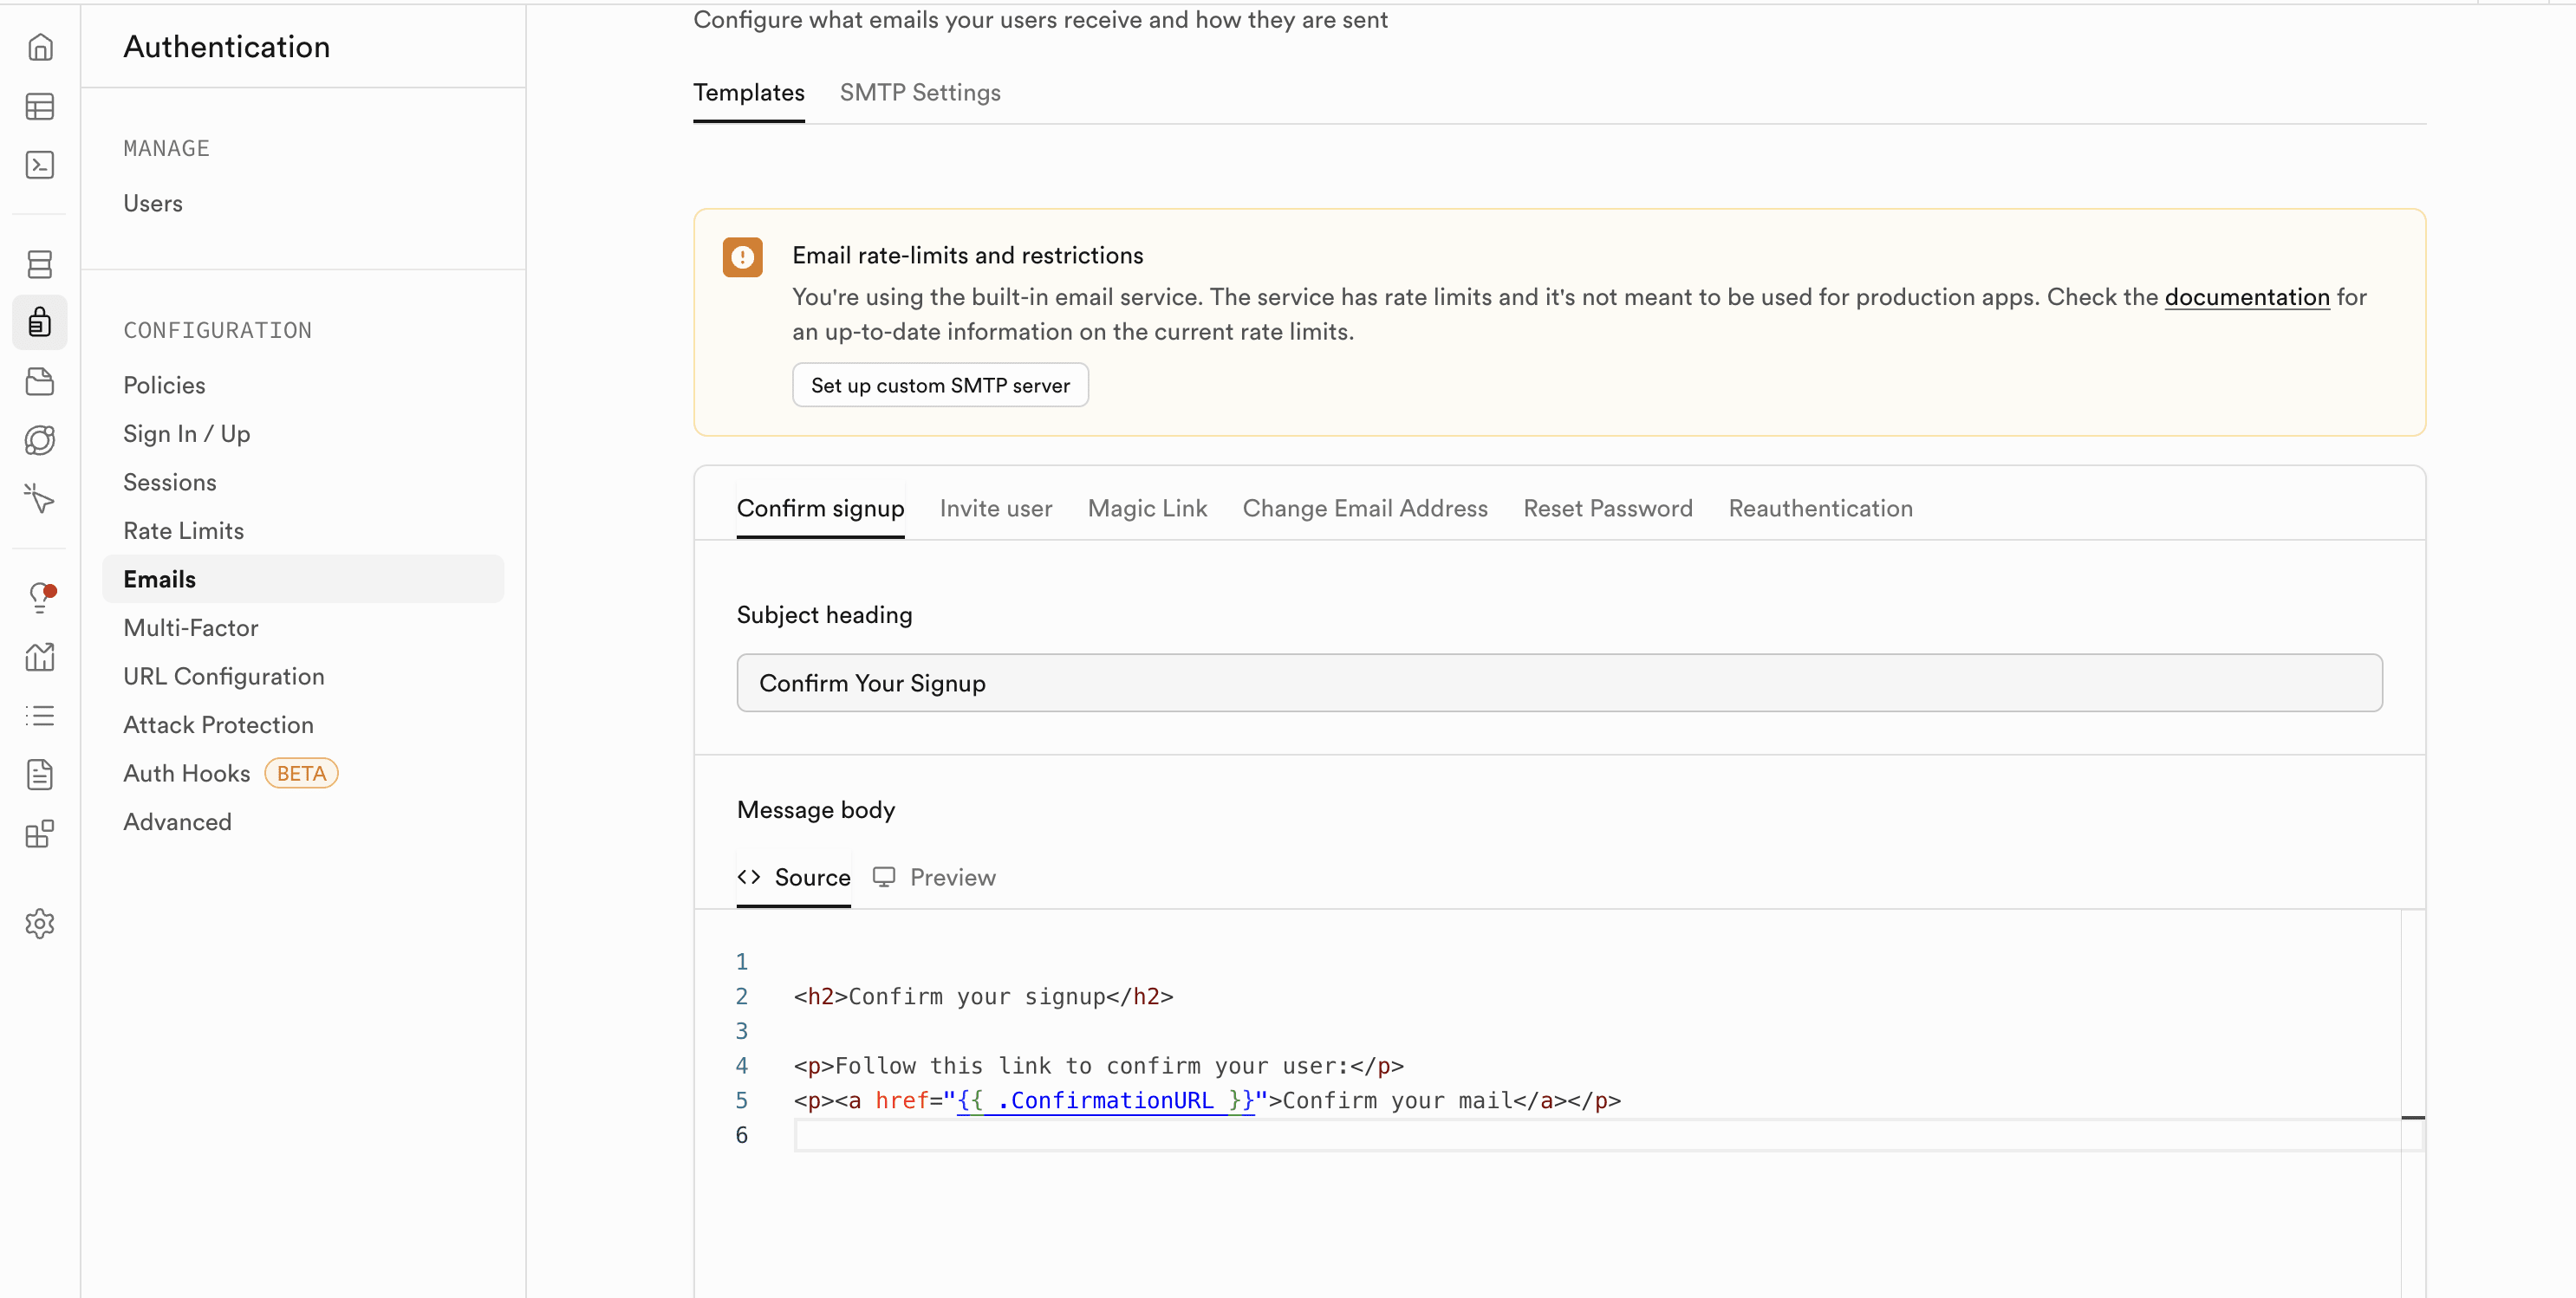
Copy the HTML of your email template and paste in the source tab of the email.
Click on the Preview tab adjacent to to the source tab to preview emails. Don’t forget to save the changes.
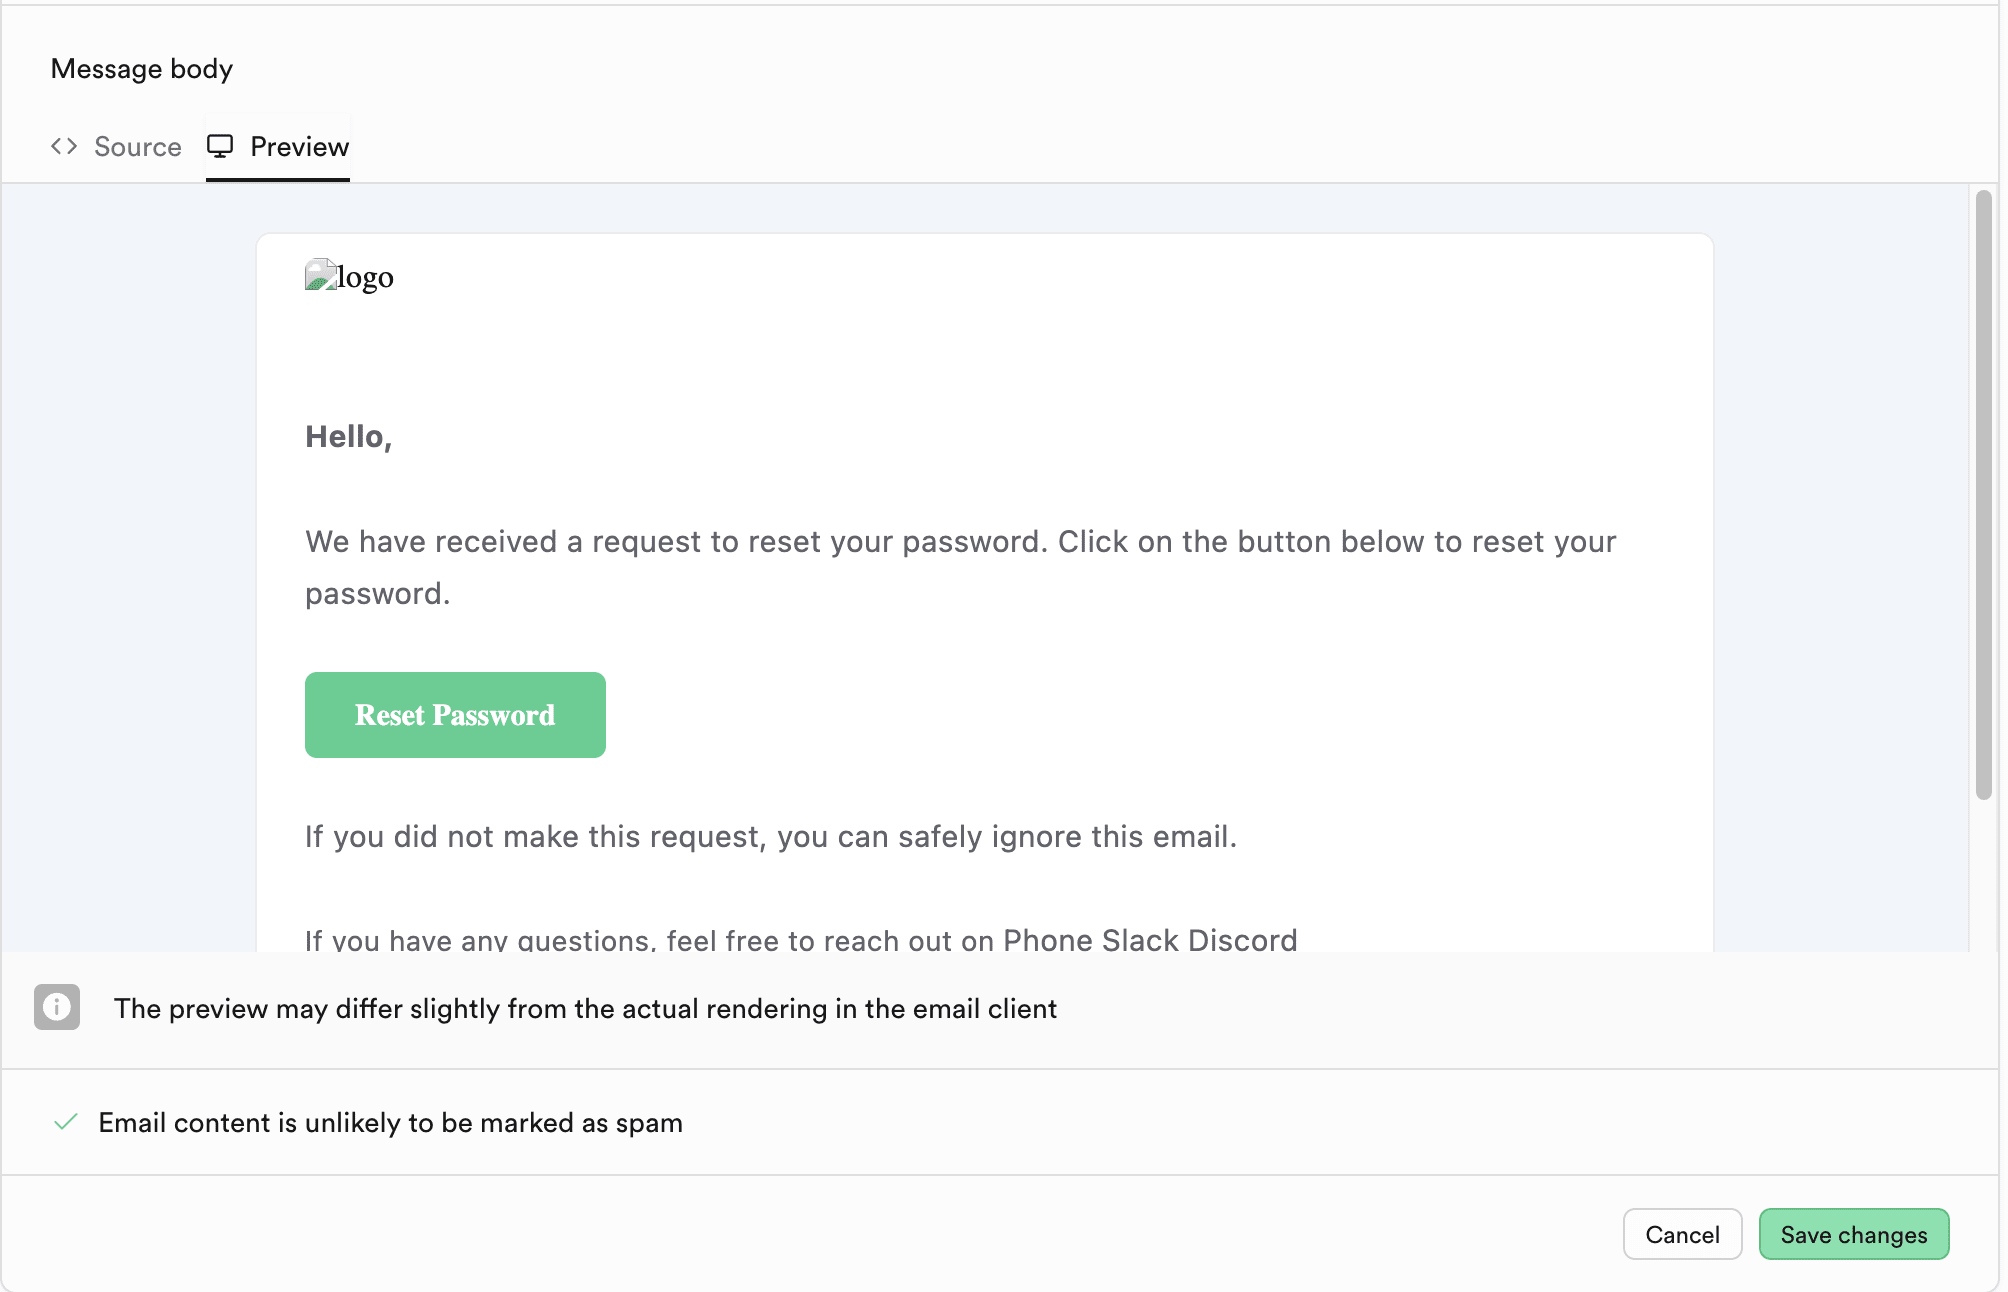
*NOTE: In the preview tab, the images will be broken. Don’t worry about it, when you send the emails, the images will render properly.*
Repeat the process for other email templates.
Test your emails
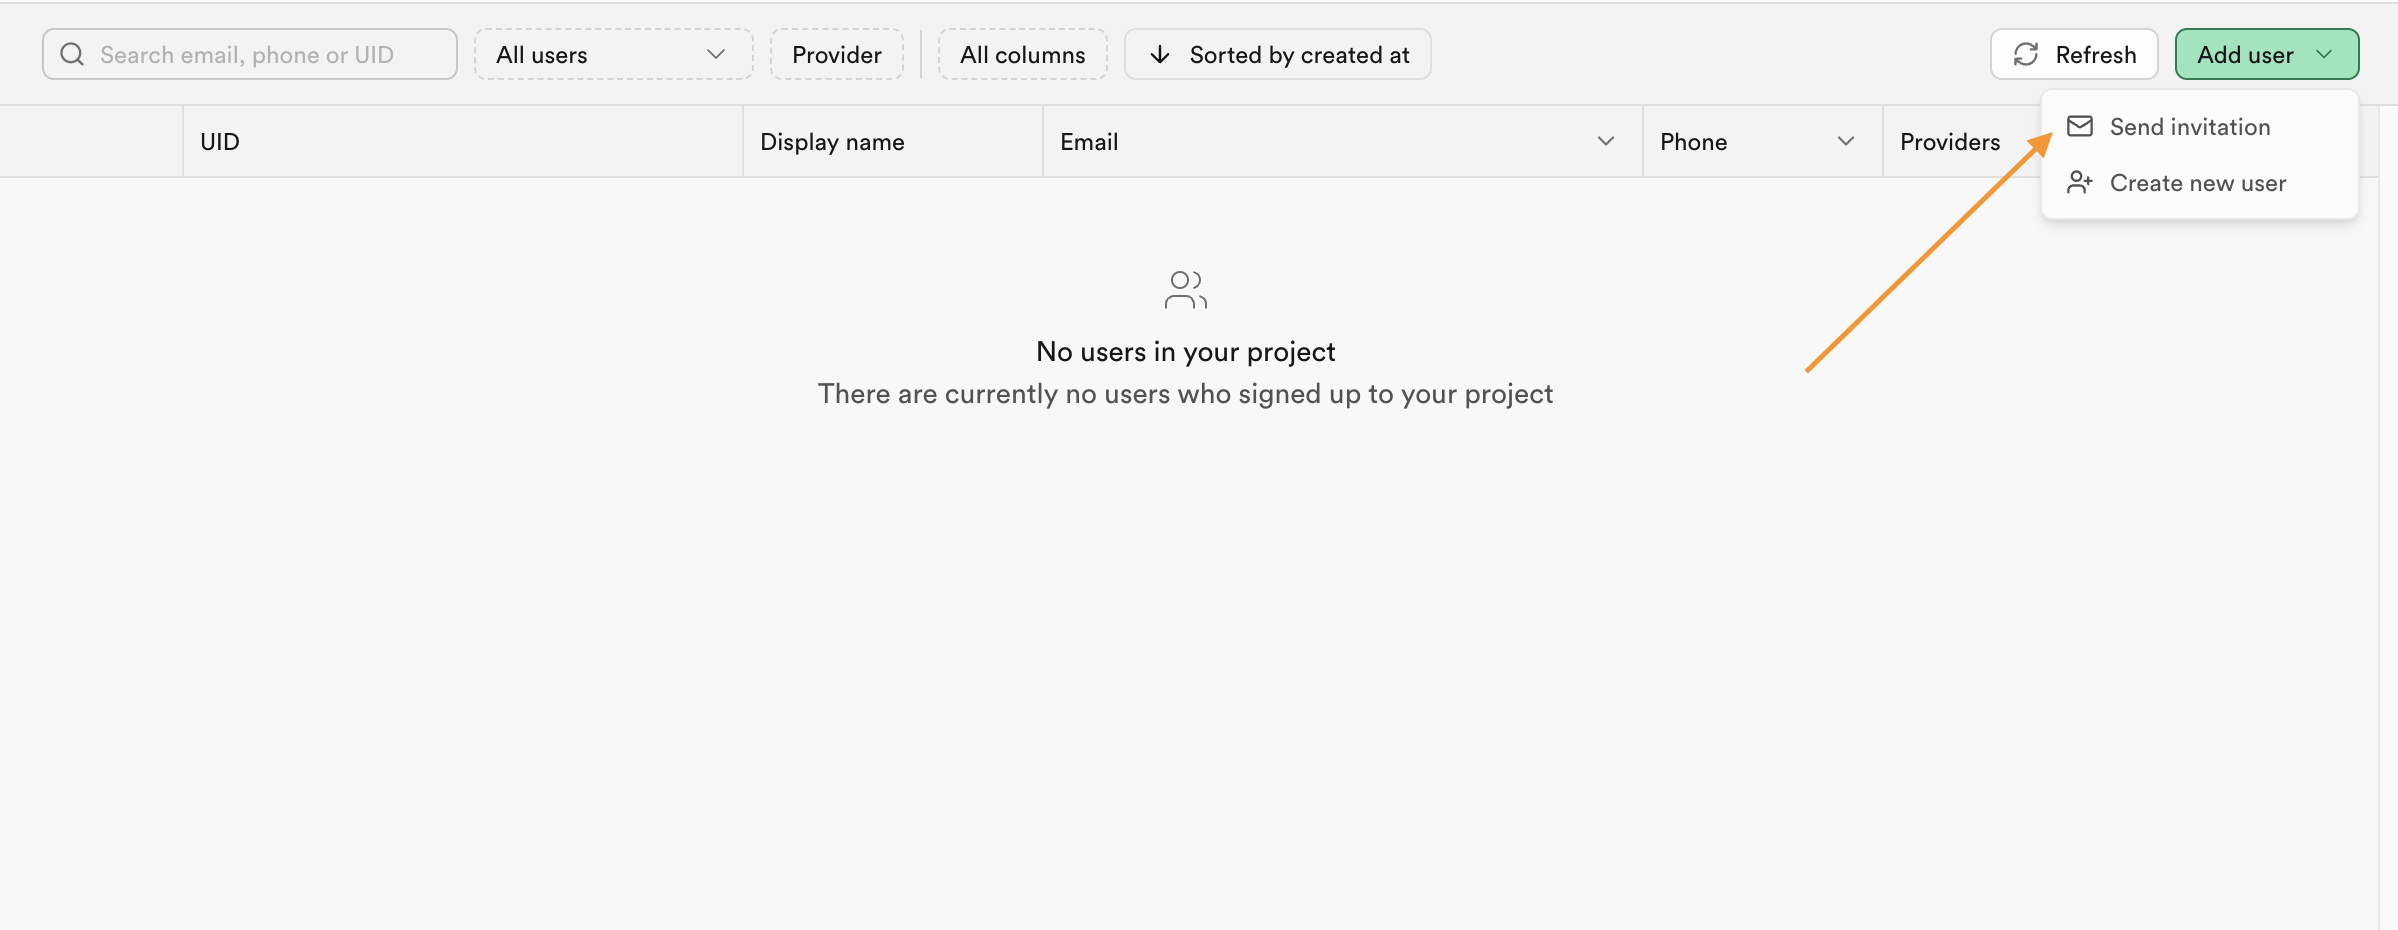
To test your newly updated email template from the Supabase dashboard, go to Authentication > Users and click on
- First, Create new user, this will trigger Confirm Signup, email.
- Second, Send Invitation, this will trigger Invite User email
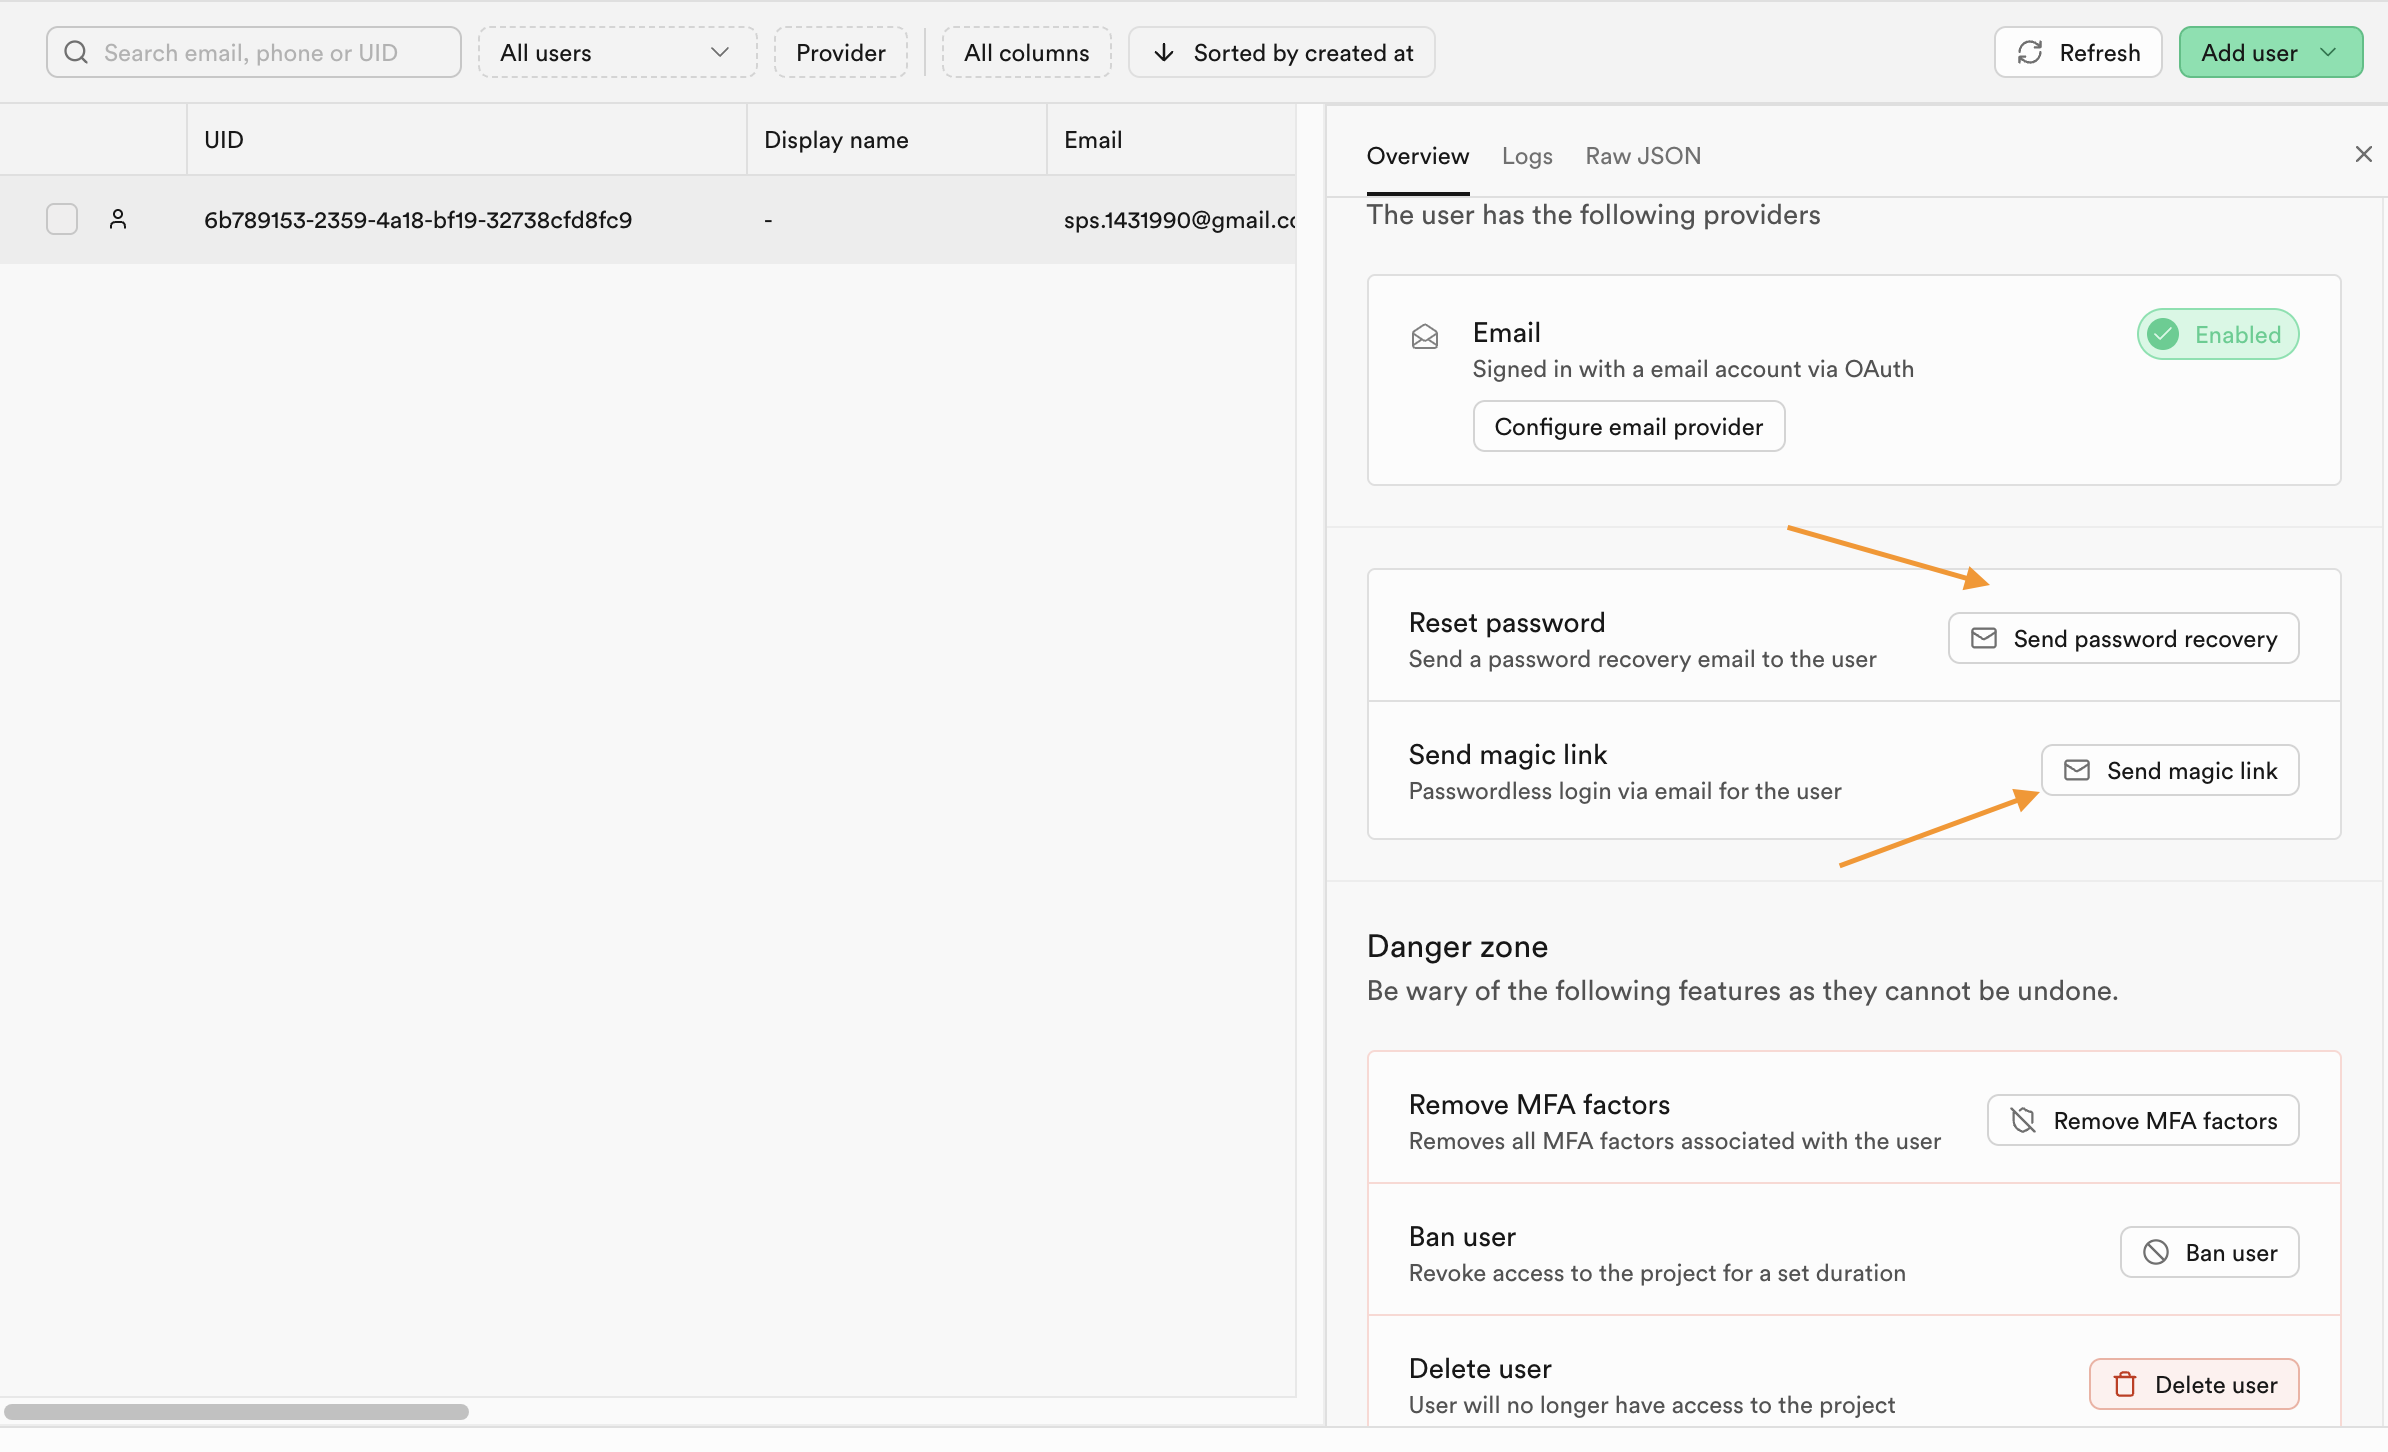
Once the user is created, you can test other authentication flows like Password recovery and Magic link
Advanced Customisations
You can further customize your emails conditionally by using the {{ .Data }} email variable. This variable contains the user metadata that you pass while creating the user. Read more about it in the docs
Bonus: How to avoid token is expired or invalid error with Supabase emails?
Some email providers prefetch the links in the email to scan for security vulnerabilities. In case, a authentication link sent by Supabase is prefetched, it is no longer valid. When the real user clicks on the link, they will get an error saying “token is expired or invalid”.
According to the Supabase docs, you can fix this in two ways:
- Use OTP instead of the confirmation URL by inserting the
{{ .Token }}variable in your email template. - Instead of inserting the
{{ .ConfirmationURL }}email variable in your email template, insert a custom link to your web application that takes user to a custom page where you display a button to confirm signup.
<a href="{{ .SiteURL }}/confirm-signup?confirmation_url={{ .ConfirmationURL }}"
  >Confirm your signup
</a>Conclusion
Shootmail provides a easy to use notion like email builder where you can visually create beautiful email templates and use them with Supabase or any other email service provider that allows HTML emails. Shootmail also provides one-click export to email services like Sendgrid, Mailchimp, Brevo etc. Where you can export the email templates from Shootmail to these services without the hassle of copy pasting the code manually.
Shootmail also has a SDK that integrated more than 8 email service providers like Resend, Sendgrid, Mailchimp, AWS SES in one. You can send emails using the email templates created in Shootmail using your own email service providers.
- Signup on Shootmail today, it is free to start: https://shootmail.app/
- Check Docs: https://docs.shootmail.app/v2/overview
- Build email sequences with Shootmail and Upstash: https://shootmail.app/blog/create-email-sequence-and-email-drip-campaigns-with-shootmail-and-upstash